

How to Create a Notification Component in React
Notifications play a crucial role in user interfaces, providing important information or updates to users. In React applications, creating notifications can be achieved with relative ease, offering a seamless way to communicate with users. In this guide, we'll walk through the process of creating notifications in a React application.
Getting Started
To begin, set up a basic React application with your choice of tools and styling libraries. You can also create this component in an existing React application.
I'm using Vite with Tailwind CSS for styling, but we will focus more on the logic part instead of styling, which you can do according to your UI needs.
Receiving Notification Data from the Backend
In a real-world scenario, notification data is typically fetched from a backend server. This data might include information such as notification title, message, timestamp, and other relevant details. For the purpose of this tutorial, we'll simulate dummy notification data in a separate file called notificationsData.js.
// notificationsData.js

const notificationsData = [
  {
    id: 1,
    title: "New Message",
    message: "You have received a new message.",
    timestamp: "2024-04-12T10:30:00Z"
  },
  {
    id: 2,
    title: "New Friend Request",
    message: "You have a new friend request.",
    timestamp: "2024-04-11T15:45:00Z"
  },
  // Add more dummy notification data as needed
];

export default notificationsData;
In a real-world application, you would replace this dummy data with actual data fetched from your backend API.
Creating Notification Container
First, we will need the Notification Container inside which we will render our list of multiple notifications. We can achieve this by mapping over the notification array from the notificationsData.js file.
First, import the notification data from the notificationsData.js file, then create a state to hold this notification array:
const [notifications, setNotifications] = useState([]);
Then use the useEffect hook to set the notification array:
useEffect(() => {
  setNotifications(notificationsArray);
}, []);
Now we will create a card with basic width and height styling inside which we will map over this notifications array:
{notifications.map((noti) => (
  <Notification
    key={noti.id}
    title={noti.title}
    message={noti.message}
  />
))}
We will render each Notification component like a list. For this, we will need to create our main component, which is <Notification/>. This component receives three props:
key={noti.id}title={noti.title}message={noti.message}
App.jsx :
import React, { useEffect, useState } from "react";
import notificationsArray from "./data/data";
import Notification from "./components/Notification";

const StarterTemplateInstructions = () => {
  const [notifications, setNotifications] = useState([]);

  useEffect(() => {
    setNotifications(notificationsArray);
  }, []);

  return (
    <>
      <div className="flex items-start justify-center ">
        <div className="my-20 bg-base-300 card w-[500px] text-wrap rounded-none">
          {notifications.map((noti) => (
            <Notification
              key={noti.id}
              title={noti.title}
              message={noti.message}
            />
          ))}
        </div>
      </div>
    </>
  );
};

export default StarterTemplateInstructions;
Now let's move on to creating Notification.jsx.
In this component, we need to implement the logic to close the notification. For this, we will create a boolean state:
const [show, setShow] = useState(true);
And whenever the user clicks on the close button, it will have a handleClick function:
const handleClose = () => {
  setShow(false);
};
Next, we will render our component's Title and Message with appropriate styling, and for the close button, I'm using an img tag which displays an SVG of the close button. This img has an onClick handler for which we set the handleClick function earlier.4
Notification.jsx
import React, { useState } from "react";
import close from "../assets/close.svg";

const Notification = ({ title, message }) => {
  const [show, setShow] = useState(true);

  const handleClose = () => {
    setShow(false);
  };

  return (
    <>
      {show && (
        <div className="bg-gray-950 px-4 py-2 outline outline-1  ">
          <p className="font-semibold text-slate-100 items-start">{title}</p>
          <div className="flex items-center justify-between ">
            <p className="block sm:inline text-slate-400">{message}</p>
            <span className="">
              <img
                src={close}
                alt="Vite logo"
                className="cursor-pointer"
                width={30}
                height={50}
                onClick={handleClose}
              />
            </span>
          </div>
        </div>
      )}
    </>
  );
};

export default Notification;
And that's it! This is very simple to achieve once you get the grasp of it. Usually, you won't be using a card as a container to show the notifications; instead, you might use a dropdown in the navigation bar of the website, but that is another topic for a blog post.
Conclusion
n conclusion, creating a notification component in React is a straightforward process that can greatly enhance user experience in your application. By following the steps outlined in this guide, you can efficiently receive notification data from a backend server, create a notification container, and implement the logic for displaying and closing notifications.
Remember to adapt the styling and placement of notifications according to your application's design and user interface requirements. Whether you choose to display notifications in a card format or utilize a dropdown menu, the key is to ensure that notifications are easily accessible and provide valuable information to the user.
I hope this guide has been helpful in understanding how to create notifications in React. Happy coding!
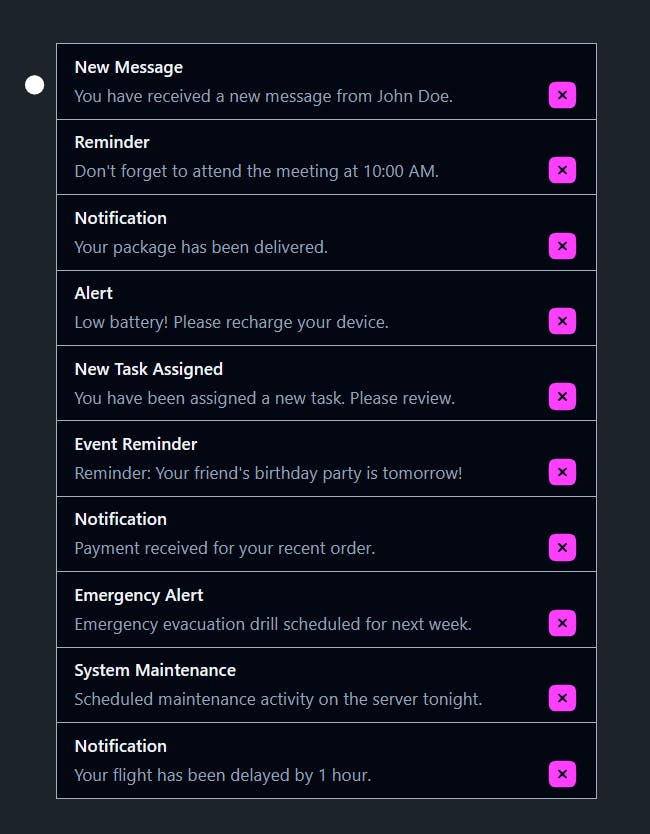
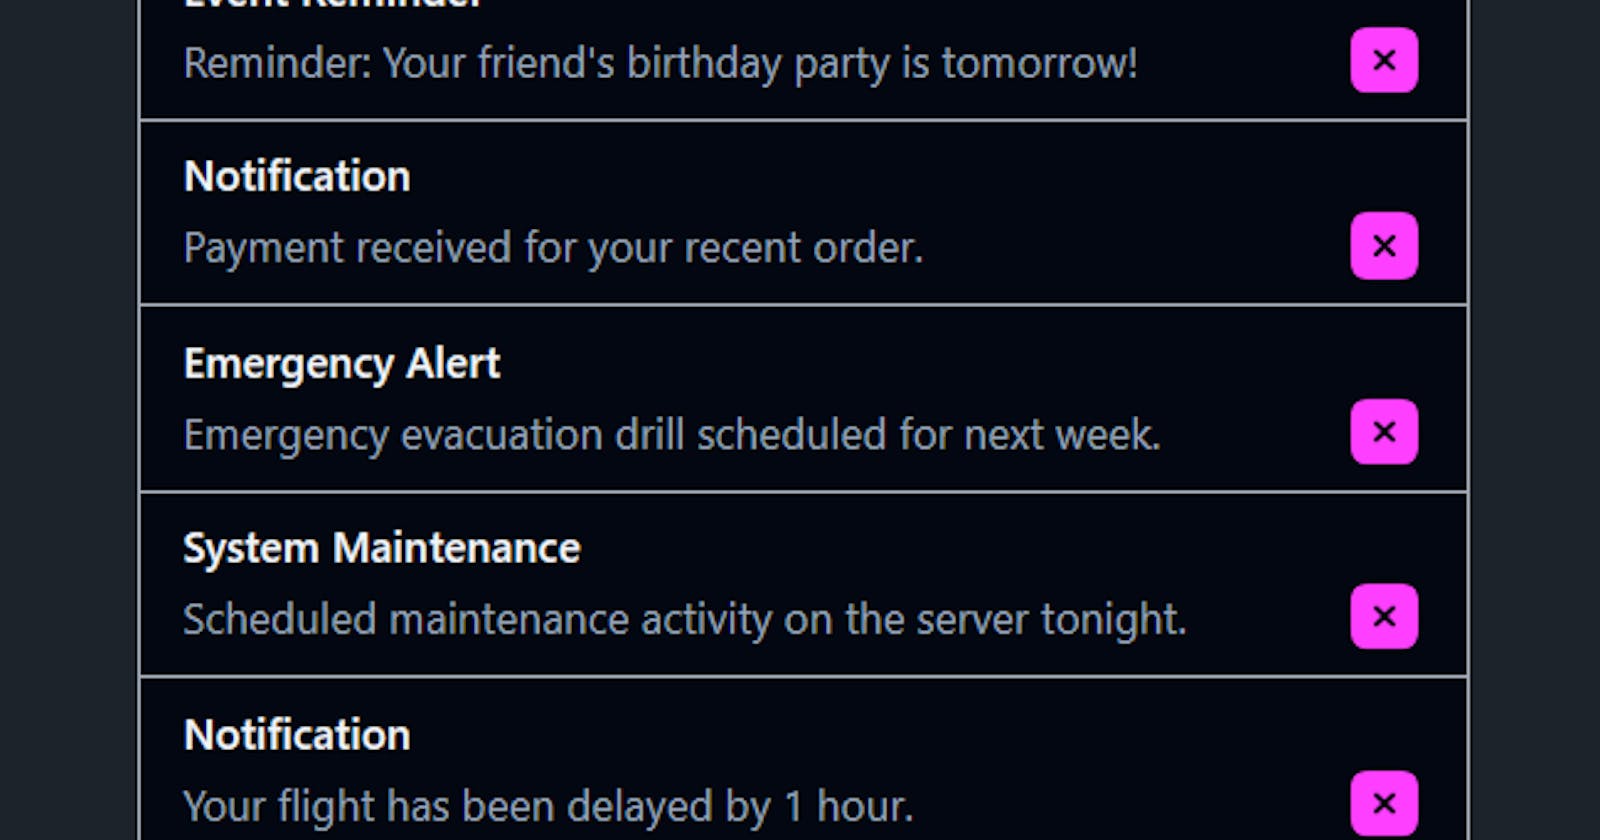
Output :
This is how the notification card looks like: